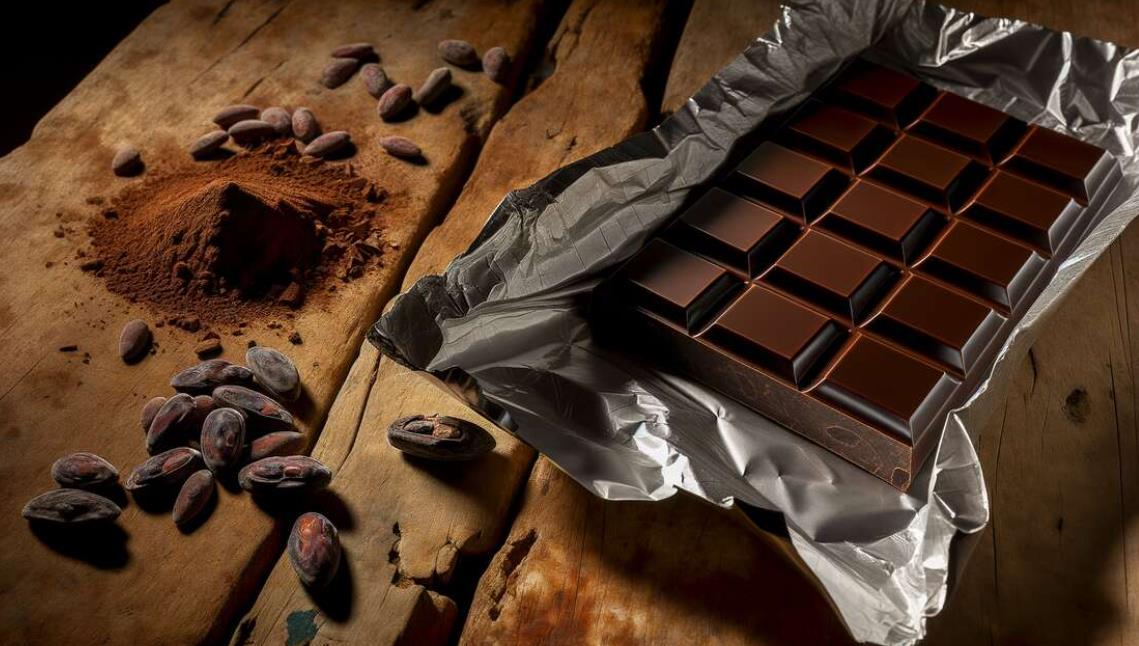

Chocolate tempering is often seen as one of the most intimidating techniques in the world of baking and confectionery. Glossy chocolate bars, perfectly set truffles, and professional-looking chocolate decorations can seem out of reach for the home cook. Many beginners assume that tempering chocolate requires expensive equipment, culinary school training, or years of experience.
The truth is far more encouraging.
With a basic understanding of how chocolate behaves, a reliable thermometer, and a bit of patience, anyone can learn to temper chocolate successfully at home. This guide is designed to demystify the process and walk you through everything you need to know — from the science behind cocoa butter crystals to practical, step-by-step methods you can use in your own kitchen.
Whether you want to elevate your desserts, create homemade chocolate bars, or simply understand why your chocolate sometimes turns dull or streaky, mastering tempering is a skill worth learning.
What Is Chocolate Tempering?
Chocolate tempering is the process of heating and cooling chocolate in a controlled way to stabilize the cocoa butter it contains. Properly tempered chocolate has:
- A smooth, glossy appearance
- A firm texture with a clean “snap” when broken
- Even contraction when setting, making it easy to release from molds
- Improved shelf stability at room temperature
When chocolate is not tempered correctly, it may look dull, feel soft or sticky, melt too easily, or develop a whitish or gray coating known as bloom.
Tempering is not about adding ingredients or changing flavor. It is about controlling the internal structure of cocoa butter so the chocolate sets in its most stable and desirable form.
The Science Behind Chocolate Tempering (Without the Intimidation)
To understand tempering, it helps to know a little about cocoa butter — the natural fat found in chocolate.
Cocoa Butter Crystal Forms
Cocoa butter can crystallize in six different forms, commonly labeled Forms I through VI. Each form has different melting points, stability, and texture.
- Forms I–IV: Soft, unstable, dull, and quick to melt
- Form V: Stable, glossy, firm, and ideal for eating
- Form VI: Very stable but forms slowly over time and can make chocolate overly hard
The goal of tempering is to encourage the formation of Form V crystals while eliminating the others.
When chocolate is melted completely, all crystal forms are destroyed. As it cools, crystals begin to reform. By carefully controlling the temperature during cooling and reheating, we guide the cocoa butter to crystallize primarily in Form V.
You do not need to memorize crystal structures or chemical equations. What matters is understanding that temperature control is everything.
Which Types of Chocolate Can Be Tempered?
Not all chocolate behaves the same way, and not all chocolate needs tempering.
Chocolate That Requires Tempering
- Dark chocolate
- Milk chocolate
- White chocolate
All of these contain cocoa butter and therefore require tempering if you want a professional finish.
Chocolate That Does NOT Require Tempering
- Compound chocolate
- Candy melts
- Coating chocolate
These products replace cocoa butter with vegetable fats, making them easier to work with but less flavorful and less refined in texture. While convenient, they do not offer the same quality as real chocolate.
Choosing the Right Chocolate
For best results:
- Choose real chocolate with cocoa butter listed in the ingredients
- Avoid chocolate chips labeled “baking chips” unless they specify cocoa butter
- Aim for quality couverture or bar chocolate when possible
For beginners, dark chocolate with 60–75% cocoa content is often the easiest to temper.
Essential Tools for Tempering Chocolate at Home
You do not need a professional kitchen to temper chocolate, but a few basic tools are essential.
Must-Have Tools
- Digital thermometer (accurate and responsive)
- Heatproof bowl (glass or stainless steel)
- Rubber or silicone spatula
- Saucepan (for a double boiler)
- Clean, dry workspace
Optional but Helpful Tools
- Marble or granite slab (for tabling method)
- Offset spatula
- Infrared thermometer
- Chocolate molds
- Tempering machine (for advanced users)
One critical rule: water is chocolate’s enemy. Even a few drops of moisture can cause chocolate to seize and become unusable.
The Three Most Common Tempering Methods
There are several ways to temper chocolate, but these three methods are the most practical for home cooks.
Method 1: The Seeding Method (Best for Beginners)
The seeding method is the most reliable and beginner-friendly technique. It uses solid, tempered chocolate as a “seed” to encourage proper crystal formation.
Step-by-Step Instructions
- Chop the chocolate
- Chop chocolate evenly for consistent melting.
- Reserve about 20–25% of the chocolate as seed.
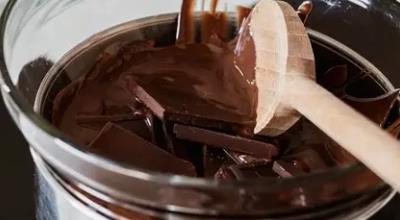
- Melt the chocolate
- Melt the larger portion gently over a double boiler or in short microwave bursts.
- Stir frequently.
- Heat to:
- Dark chocolate: 45–50°C (113–122°F)
- Milk/White chocolate: 40–45°C (104–113°F)
- Cool the chocolate
- Remove from heat.
- Gradually add the reserved seed chocolate.
- Stir constantly until the temperature drops to:
- Dark: 27–28°C (80–82°F)
- Milk: 26–27°C (79–81°F)
- White: 25–26°C (77–79°F)
- Reheat slightly
- Gently warm the chocolate to working temperature:
- Dark: 31–32°C (88–90°F)
- Milk: 29–30°C (84–86°F)
- White: 28–29°C (82–84°F)
- Gently warm the chocolate to working temperature:
- Maintain temperature
- Keep chocolate within working range while using it.
If done correctly, the chocolate should look smooth, glossy, and fluid.
Method 2: The Tabling Method (Professional Technique)
The tabling method is traditional and visually impressive, but it requires practice and a cool stone surface.
Overview
- Melt chocolate completely
- Pour two-thirds onto a marble slab
- Move and spread it with spatulas to cool
- Recombine with warm chocolate to reach working temperature
Pros and Cons
Pros
- Fast cooling
- Excellent control once mastered
Cons
- Requires space and skill
- Messy for beginners
- Less practical in home kitchens
This method is best explored once you are comfortable with tempering basics.
Method 3: The Microwave Method (Small Batches)
This method works well for very small amounts of chocolate.
Key Tips
- Use low power (50% or less)
- Heat in short intervals (10–15 seconds)
- Stir thoroughly between each burst
- Monitor temperature closely
While convenient, the microwave method leaves little room for error and is best used cautiously.
Chocolate Tempering Temperature Chart
Accurate temperatures are essential. Always use a thermometer.
| Chocolate Type | Melt To | Cool To | Work At |
|---|---|---|---|
| Dark | 45–50°C (113–122°F) | 27–28°C (80–82°F) | 31–32°C (88–90°F) |
| Milk | 40–45°C (104–113°F) | 26–27°C (79–81°F) | 29–30°C (84–86°F) |
| White | 40–45°C (104–113°F) | 25–26°C (77–79°F) | 28–29°C (82–84°F) |
How to Test If Your Chocolate Is Properly Tempered
Before committing to molds or decorations, test your chocolate.
Simple Tests
- Knife Test: Dip the tip of a knife into the chocolate. It should set within 3–5 minutes at room temperature with a glossy finish.
- Parchment Test: Spread a small amount on parchment paper and observe the set.
- Visual and Texture Check: The chocolate should feel firm and not sticky.
If it sets slowly, looks dull, or streaks appear, the chocolate is likely out of temper.
Common Tempering Problems and How to Fix Them
Chocolate Looks Gray or White (Bloom)
- Cause: Incorrect crystal formation or temperature fluctuations
- Fix: Re-melt and temper again
Chocolate Won’t Set
- Cause: Working temperature too high
- Fix: Allow chocolate to cool slightly and stir
Chocolate Becomes Thick or Grainy
- Cause: Over-crystallization or moisture contamination
- Fix: Gently reheat or add a small amount of melted chocolate
Chocolate Seizes
- Cause: Water exposure
- Fix: Unfortunately, seized chocolate cannot be tempered; repurpose it for ganache or baking
Environmental Factors That Matter More Than You Think
Professional chocolatiers pay close attention to their environment, and home cooks should too.
Ideal Conditions
- Room temperature: 18–22°C (64–72°F)
- Low humidity
- Clean, dry tools
High humidity and warm rooms make tempering more challenging, especially for milk and white chocolate.
Practical Uses for Tempered Chocolate
Once you master tempering, the possibilities expand dramatically.
- Chocolate bars
- Truffles and bonbons
- Chocolate-dipped fruits
- Decorative drizzles and shards
- Molded figures and designs
Tempered chocolate elevates both the appearance and texture of your creations.
Is Tempering Chocolate Really Worth the Effort?
For casual baking, tempering may not always be necessary. Ganache, brownies, and cakes do not require tempered chocolate.
However, if your goal is:
- Professional presentation
- Clean finishes
- Stable chocolate at room temperature
- A satisfying snap and shine
Then tempering is absolutely worth learning.
Confidence Comes With Practice
Chocolate tempering is a skill, not a talent. Even experienced pastry chefs encounter failures, especially when conditions change.
Start small. Use good chocolate. Rely on your thermometer. Accept that mistakes are part of the process.
With practice, tempering will become intuitive — and once it does, you will never look at chocolate the same way again.
Mastering chocolate tempering at home is not about perfection; it is about understanding, patience, and respect for the ingredient. And few skills reward you quite as sweetly.